You’re getting a mold inspection done on your home but you’re not sure what. You want to know what the inspector will check and test. You want to understand the mold inspection checklist so you know what’s happening. Understanding what does a mold inspector check helps you prepare your home. Knowing the home mold inspection process helps you know what to expect. A professional mold inspector follows a detailed checklist during every inspection. “This guide explains everything that happens during a mold inspection. For comprehensive background on why Fort Pierce homes need professional inspection, start with our complete residential mold inspection guide covering climate factors and health risks. Real details. Complete checklist. By the end you’ll know exactly what inspectors check and test.
Understanding The Mold Inspection Checklist: What Gets Inspected
Visual Inspection Of Every Room And Area Of Your Home
The inspector starts with a complete visual inspection of entire home. They check every single room looking for visible mold growth anywhere. They look at walls, ceilings, floors, and all surfaces in home. Bathrooms get special attention because mold commonly grows in these areas. Kitchens get checked because water sources exist in kitchen areas. Basements and crawlspaces get inspected because moisture accumulates in these places. Attics get checked because moisture and heat create mold problems there. Laundry rooms get inspected because they have moisture from water. Garages get checked because moisture seeps in from ground water. Every room gets inspected carefully during the visual inspection process. TThe inspector takes pictures and writes notes about what they find. If you’re planning to buy a home in Fort Pierce, understanding this inspection process is critical – see our guide on why mold inspection is non-negotiable for homebuyers before making any purchase decisions. Visual inspection takes several hours depending on home size and complexity.
Checking For Water Stains And Discoloration On Surfaces
The inspector looks for water stains on walls and ceilings. Water stains indicate past or present moisture problems in home. Dark stains usually mean moisture has been present for long time. Yellow or brown stains indicate water intrusion from roof or pipes. Stains around windows indicate water leaking through window frames. Stains on ceilings might indicate roof leaks or condensation problems. Stains in corners indicate moisture flowing down walls inside. The inspector photographs all stains found during inspection for documentation. Water stains are important clues about where moisture problems exist. Some stains show old problems and some show current problems.
Looking For Visible Mold Growth In All Locations
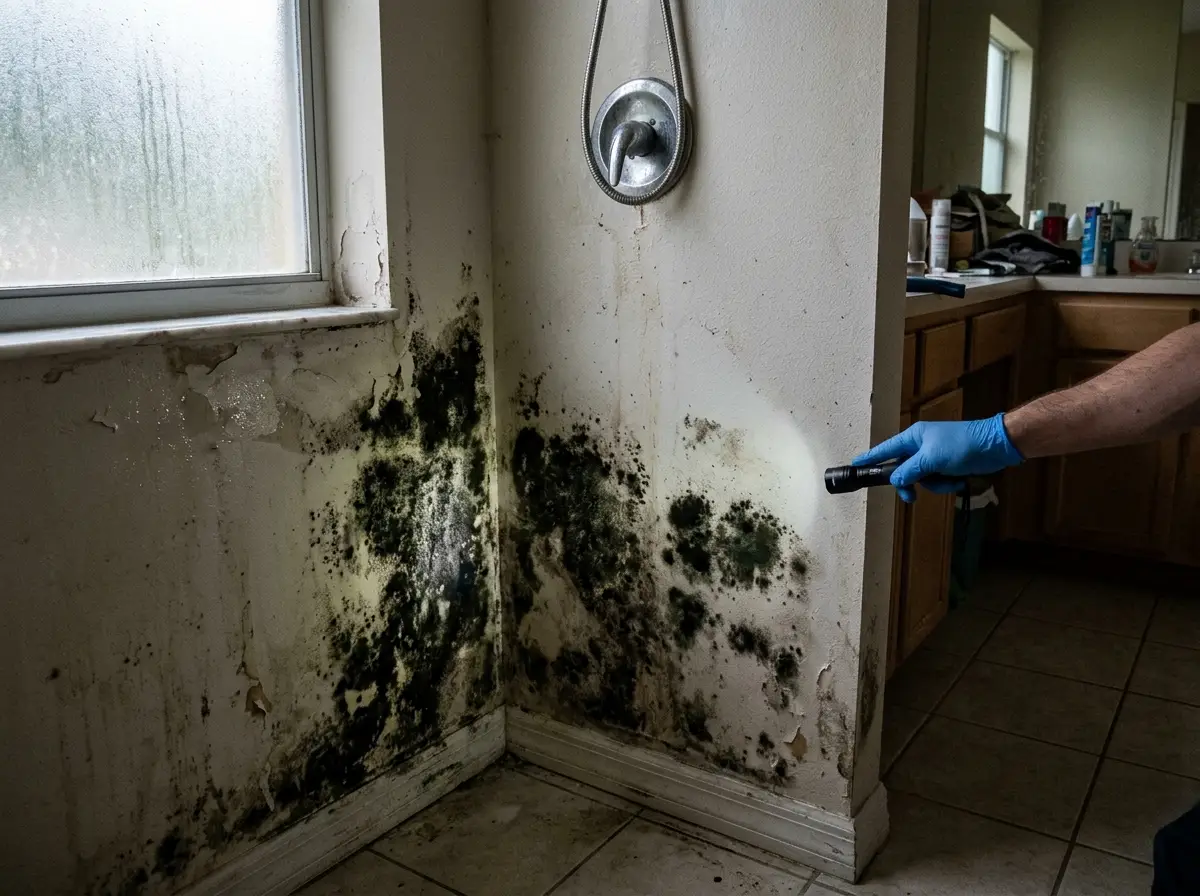
The inspector searches for any visible mold growth anywhere in home. Black spots on walls might indicate black mold growth present. Green spots on tiles indicate green mold growth in bathrooms. White spots on wood might indicate white mold growth happening. Fuzzy growth on surfaces indicates active mold growth in progress. The inspector checks dark corners where mold commonly grows. The inspector checks around pipes where condensation creates moisture. The inspector checks under sinks where water leaks happen. The inspector checks around windows where condensation builds up. Visible mold is documented with photographs for the inspection report. Any visible mold is noted as finding in inspection report.
Checking For Bad Smells And Musty Odors Throughout Home
The inspector smells the air in every room looking for odors. Musty smells indicate mold is growing somewhere in your home. Musty smells might come from hidden mold not visible yet. The inspector tries to locate where the smell is strongest. Strong smells in certain areas indicate mold is growing there. Smells in walls indicate mold growing inside walls hidden away. Smells in crawlspaces indicate moisture and mold problems below home. Bad odors are important clues about where mold is located. The inspector notes the location and intensity of smells found. Musty smells often appear before visible mold becomes noticeable.
What Does A Mold Inspector Check With Special Equipment
Using Moisture Meters To Find Hidden Water Problems
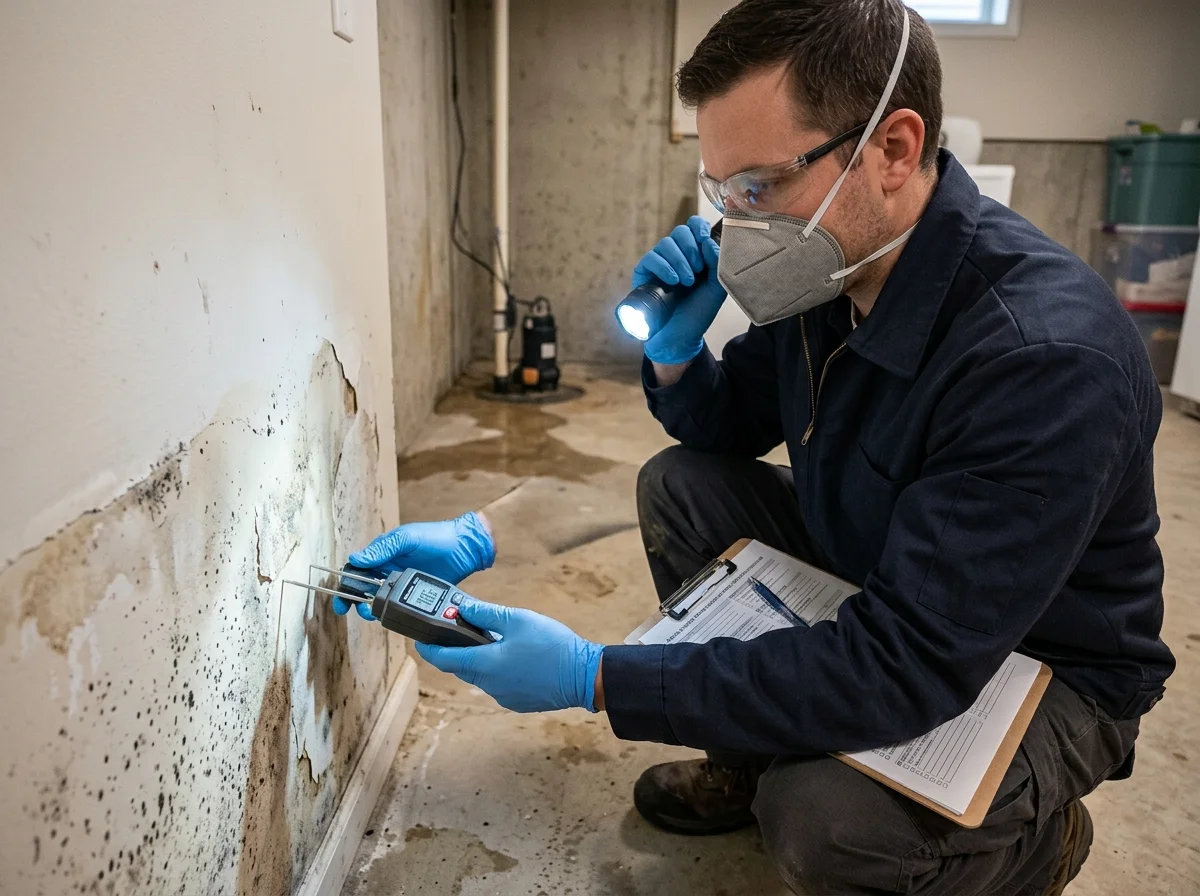
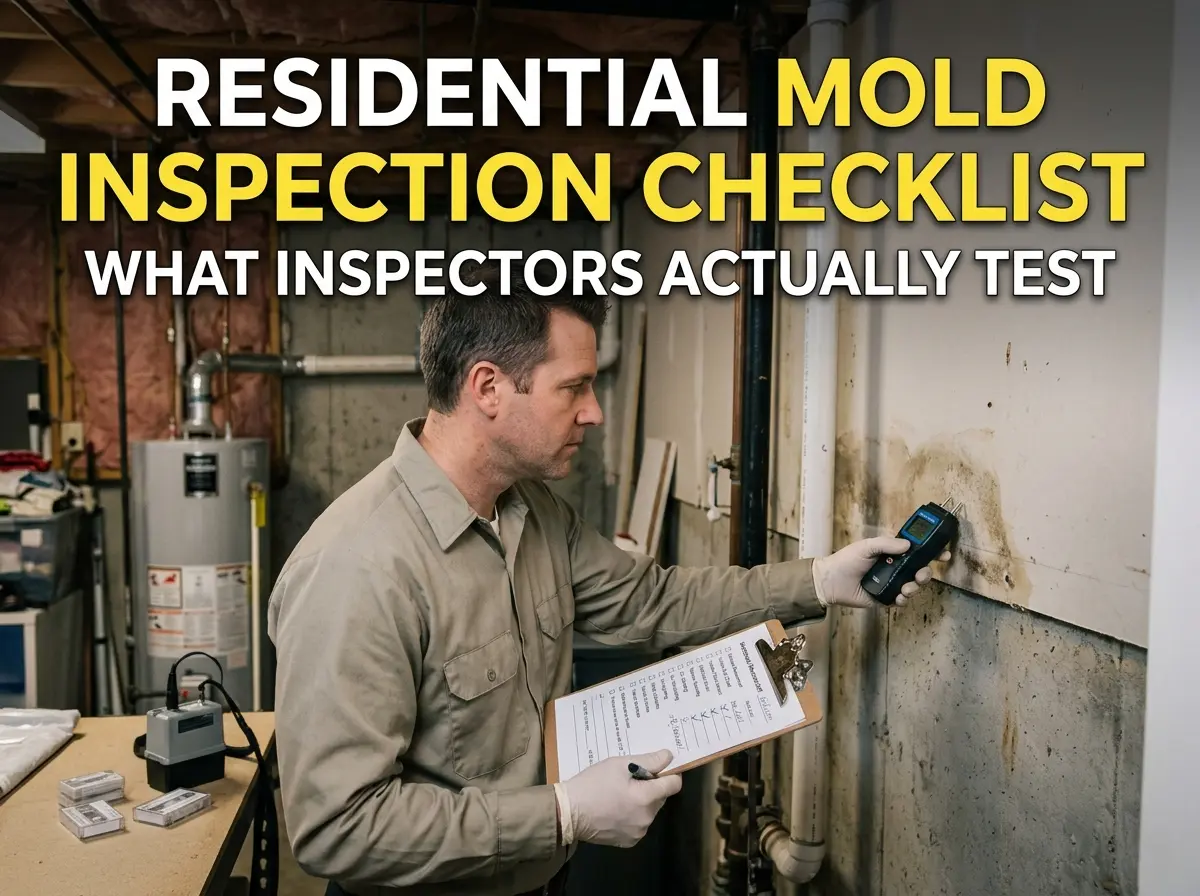
Moisture meters are tools that detect water hidden inside walls. The inspector uses moisture meters to find hidden moisture before mold. Moisture meters have special probes that go into walls and structures. The meter shows readings about how much moisture is present. High readings indicate moisture problems that will cause mold growth. Low readings indicate normal moisture levels that are acceptable. The inspector checks moisture in walls around bathrooms and kitchens. The inspector checks moisture in basements and crawlspaces thoroughly. The inspector checks moisture around windows and doors where leaks happen. Moisture readings help find problems before mold becomes visible. High moisture means water is getting in from somewhere nearby.
Using Thermal Imaging Cameras To Detect Temperature Differences
Thermal imaging cameras show temperature differences in walls and surfaces. Temperature differences show where moisture is hiding inside walls. Cold spots on walls indicate water is present inside. The camera shows these problems in color showing hot and cold. Thermal imaging finds moisture that moisture meters might miss. The camera can see through walls to find hidden problems. Thermal imaging is especially useful for finding hidden moisture. The inspector uses thermal imaging in suspicious areas of home. Thermal imaging helps find problems in hard to reach places. Temperature patterns show where water is entering your home.
Taking Air Samples To Check For Mold Spores
The inspector collects air samples using special air collection equipment. Air samples are collected from every major room in home. Air samples are sent to laboratories for mold spore analysis. Lab results show what types of mold are in air. Lab results show how many mold spores are floating. High spore counts indicate active mold growth in your home. Low spore counts indicate mold is not a major problem. Air samples from outside are also taken for comparison. Indoor spore counts should be lower than outdoor counts. Higher indoor counts indicate mold is growing inside your home.
Collecting Surface Samples From Suspected Mold Areas
Surface samples are collected from any visible mold growth found. Cotton swabs are used to swab suspected mold areas. Tape samples are lifted from surfaces with suspected mold. Surface samples go to laboratories for mold species identification. Lab analysis tells you exactly what type of mold present. Different mold species have different danger levels and health risks. Surface samples confirm visible growth is actually mold. Surface samples identify the mold type so remediation can begin. Multiple samples might be collected from different areas of home.
Complete Home Mold Inspection Process: Step By Step
Step One: Initial Walkthrough And Visual Assessment
The inspector arrives and does initial walkthrough of entire home. They introduce themselves and explain the inspection process to you. They ask you about any problems you’ve noticed in home. They ask about water damage history or flooding that happened. They ask about moisture problems or musty smells you’ve noticed. They ask about health problems family members have been experiencing. Initial discussion helps inspector focus inspection on problem areas. Inspector takes notes about your concerns during initial conversation. This information helps inspector know where to look carefully.
Step Two: Detailed Room By Room Visual Inspection
The inspector systematically checks every room in your home carefully. They start upstairs or downstairs and work through entire home. They look at walls, ceilings, floors, and all surfaces visible. They open closets and check inside for mold growth. They look under sinks and check plumbing areas for leaks. They check around windows and doors for water intrusion signs. They look at electrical outlets for any moisture or problems. They photograph any suspicious areas or visible mold found. They take detailed notes about findings in each room. This step takes several hours depending on home size.
Step Three: Checking Bathrooms For Moisture And Mold Problems
Bathrooms get special attention because mold grows there commonly. Inspector checks shower walls and ceiling for visible mold. Inspector checks around bathtub for water damage or mold. Inspector checks under bathroom sinks for leaks and moisture. Inspector checks bathroom ventilation fan to see if it works. Inspector checks for caulking that is cracked or deteriorated. Inspector checks grout between tiles for mold growth visible. Inspector checks humidity levels in bathroom with moisture meter. Inspector documents any moisture or mold problems found there. Bathrooms are common mold problem areas in most homes.
Step Four: Checking Kitchen For Water Intrusion And Moisture
Inspector checks under kitchen sink for water leaks present. Inspector checks around dishwasher for water damage and seepage. Inspector checks around refrigerator for condensation and moisture problems. Inspector checks ceiling for water stains from roof leaks. Inspector checks windows for condensation and water damage. Inspector checks ventilation fan to see if it removes steam. Inspector checks for visible mold growth in kitchen areas. Inspector measures moisture levels with moisture meter if needed. Inspector documents any findings related to kitchen area. Kitchens are another common area where mold problems occur.
Step Five: Inspecting Basements And Crawlspaces Thoroughly
Inspector carefully inspects basement for water intrusion and moisture. Inspector checks basement walls for water stains and seepage. Inspector checks basement corners where moisture commonly accumulates. Inspector uses moisture meter to check foundation for moisture. Inspector checks basement sump pump to see if working. Inspector looks for visible mold on basement walls and items. Inspector checks crawlspace for moisture problems and mold growth. Inspector measures moisture in crawlspace with special equipment. Inspector documents all findings in basement and crawlspace areas. Basements and crawlspaces are prone to moisture problems.
Step Six: Checking Attic For Roof Leaks And Moisture Problems
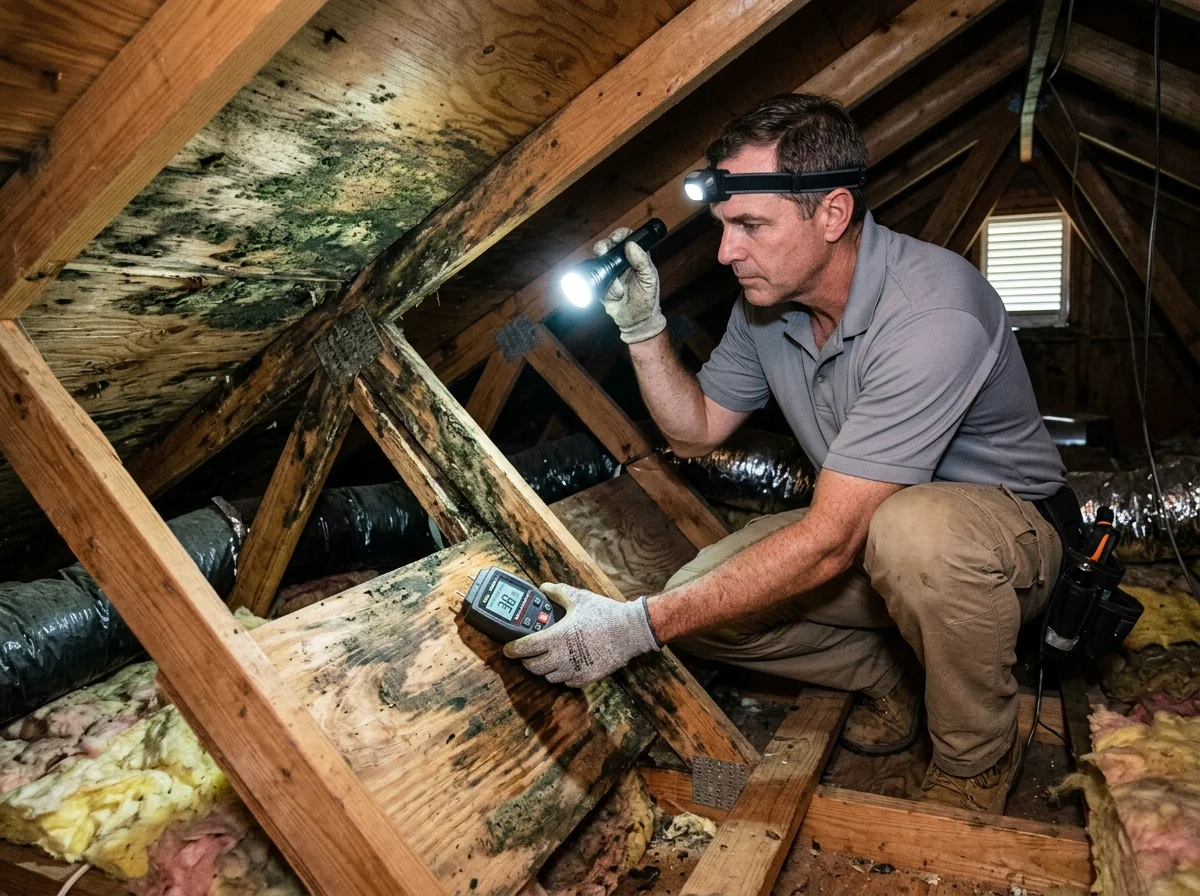
Inspector climbs to attic and checks for roof leaks. Inspector looks for water stains on underside of roof. Inspector checks insulation for moisture and mold contamination. Inspector looks for visible mold growth on wood and materials. Inspector checks ventilation in attic to ensure proper air flow. Inspector measures moisture levels in attic with meter. Inspector checks for condensation problems on roof decking. Inspector looks for any signs of past water intrusion. Inspector documents all findings related to attic areas. Attics commonly have moisture problems from roof leaks.
Step Seven: Taking Air And Surface Samples For Analysis
Inspector collects air samples from main living areas of home. Air samples are placed in special containers for transport. Surface samples are collected from any visible mold growth. Surface samples are carefully labeled and documented properly. Samples are sealed in containers to prevent contamination. Samples are delivered to laboratory for professional analysis. Inspector explains what will be tested in laboratory. Inspector gives you timeline for receiving laboratory results. Samples are critical for confirming mold presence and type.
Step Eight: Using Thermal Imaging To Find Hidden Moisture
Inspector uses thermal imaging camera in suspicious areas. Thermal imaging shows temperature differences in walls and structures. Cold spots indicate where moisture is hidden in walls. Thermal imaging is used around windows and roof areas. Thermal imaging helps find moisture before mold develops. Inspector documents thermal images in inspection report provided. Thermal imaging findings help guide remediation recommendations. Thermal imaging is valuable tool for finding hidden problems.
Step Nine: Reviewing Findings And Creating Detailed Report
Inspector reviews all findings collected during inspection process. Inspector compiles photographs and test results into report. Inspector writes recommendations for remediation if needed. Inspector explains findings and recommendations to you in detail. Inspector answers questions about mold and inspection results. Inspector provides written report with all documentation included. Report includes photographs showing problem areas identified. Report includes recommendations for next steps you should take. Report provides detailed information about any mold found. You receive copy of complete inspection report for records.
Step Ten: Providing Recommendations For Remediation And Prevention
Inspector recommends actions based on inspection findings and results. Inspector might recommend professional mold remediation if needed. Inspector recommends waterproofing improvements to prevent future problems. Inspector recommends ventilation improvements to reduce moisture. Inspector recommends dehumidifiers if humidity levels are high. Inspector explains timeline for taking recommended actions. Inspector answers questions about remediation and prevention. Inspector provides contact information for qualified remediation companies. Inspector explains importance of acting on recommendations quickly. You understand what needs to be done after inspection.
Mold Inspection Checklist Items Inspector Documents
Water Damage And Water Intrusion Signs Found In Home
- Water stains on walls and ceilings from leaks above
- Water damage around windows and doors from weather
- Water seeping into basement from foundation or ground water
- Water damage around pipes from leaking plumbing connections
- Water spots on flooring from spills or condensation
- Water marks on wood from moisture exposure over time
- Water intrusion from roof leaks into attic areas
- Water accumulation in crawlspaces or basement areas
- Water spots around HVAC units and ductwork
- Water damage in kitchen cabinets from sink leaks
Moisture Levels Measured In Different Areas Of Home
- High humidity readings in bathrooms from shower steam
- High moisture readings in basements from ground water
- High moisture in crawlspaces from poor ventilation
- Moisture readings near windows from condensation problems
- Moisture readings in walls from hidden water intrusion
- Moisture readings in attic from roof condensation
- Moisture readings in kitchen from appliance moisture
- High overall humidity levels throughout home structure
- Moisture readings above acceptable levels in multiple areas
- Moisture problems in specific rooms requiring attention
Visible Mold Growth Found During Inspection
- Black mold spots on bathroom walls and ceilings
- Green mold on shower tiles and grout areas
- White mold on wood in basements or crawlspaces
- Fuzzy mold growth on any surfaces visible
- Mold growth on insulation in attic areas
- Mold on basement walls or foundation areas
- Mold in crawlspace on floor or walls
- Mold around windows from condensation problems
- Mold on bathroom caulk and grout
- Mold around air conditioning units and ducts
Odors And Air Quality Issues Identified
- Musty smells in basement areas from moisture
- Musty smells in crawlspaces from mold growth
- Musty smells in bathrooms from moisture problems
- Strong odors indicating active mold growth present
- Stale air quality indicating poor ventilation
- Humidity related odors from moisture problems
- Odors from specific rooms needing investigation
- Strong musty smells requiring further testing
- Persistent odors even with fresh air
- Air quality concerns from mold contamination
Ventilation And Air Flow Problems Identified
- Bathroom fans not working or broken completely
- Kitchen ventilation fans not removing steam properly
- Lack of crawlspace ventilation causing moisture
- Attic ventilation problems causing moisture buildup
- Blocked air vents preventing proper air flow
- Poor air circulation in certain rooms
- Inadequate ventilation in moisture prone areas
- Bathroom fans vented into attic instead outside
- Kitchen exhaust fans not working properly
- HVAC systems not properly distributing air
FAQ About Mold Inspection Checklist And Process
What should I do before the mold inspector arrives?
Clean your home so inspector can access all areas. Make sure bathrooms and kitchen are accessible for inspection. Remove items from under sinks so inspector can check. Clear closets so inspector can look for mold growth. Make sure basement and crawlspace are accessible safely. Remove clutter from floors so inspector can walk around. Write down any concerns or problem areas you’ve noticed. Have water damage history information available for inspector. Ask family members about any health problems they’ve experienced. Turn on all lights so inspector can see properly.
How long does a typical mold inspection take to complete?
Small homes might take two to three hours to inspect. Medium homes typically take three to four hours to inspect. Large homes might take four to six hours to inspect. Homes with known problems might take longer to inspect. Inspection time depends on home size and complexity level. Time also depends on how many samples need collection. Inspector needs time to document findings thoroughly. More thorough inspections take more time overall. Time includes visual inspection, testing, and sample collection. Inspector provides time estimate when scheduling appointment.
What happens after the mold inspection is completed?
You receive a detailed written report with all findings. Report includes photographs of problem areas identified. Report includes laboratory results from air and surface samples. Report includes recommendations for remediation if mold is found. You review report and understand what was found. You contact remediation companies if mold removal is needed. You take action on recommendations provided by inspector. You might schedule follow up inspection after remediation. You maintain home to prevent future mold problems.
How much does a typical mold inspection cost?
Basic inspections cost between three hundred and five hundred dollars. Comprehensive inspections cost between six hundred and twelve hundred dollars. Prices vary based on home size and complexity level. Prices depend on how much testing is required. Emergency inspections might cost more than regular inspections. Get quotes from multiple inspectors to compare pricing. Most inspectors provide free consultations before inspection. Ask what is included in inspection price quoted. Inspection cost is small compared to remediation costs.
What should I ask the inspector about findings?
Ask what type of mold was found if mold present. Ask how serious the mold problem is and health risks. Ask where the mold is located and how to access. Ask what caused the mold growth to happen there. Ask what recommendations they have for remediation needed. Ask about timeline for taking action on problems. Ask if you need professional remediation or can fix. Ask about prevention steps to prevent future mold. Ask about warranty or guarantees on inspection. Ask questions until you understand everything completely. Our professional residential mold inspection services include detailed explanations of all findings and personalized recommendations for Fort Pierce homeowners
How soon after inspection do I get the report?
Most inspectors provide report within one to two weeks. Some inspectors provide report immediately after inspection. Laboratory results take time so report includes timeline. Air and surface samples take one to two weeks. You receive preliminary findings immediately after inspection. You receive final report with laboratory results included. Contact inspector if you need report faster. Ask about timeline when scheduling inspection. You need report to plan remediation if needed. Request expedited results if you need report quickly. Ready for professional mold inspection? Schedule your inspection today with Fort Pierce’s trusted mold detection experts using advanced equipment and certified analysis.